It controls what appears on documents Datatruck generates, layout, fields, balances, and branding. Changes apply to all future documents of that type.
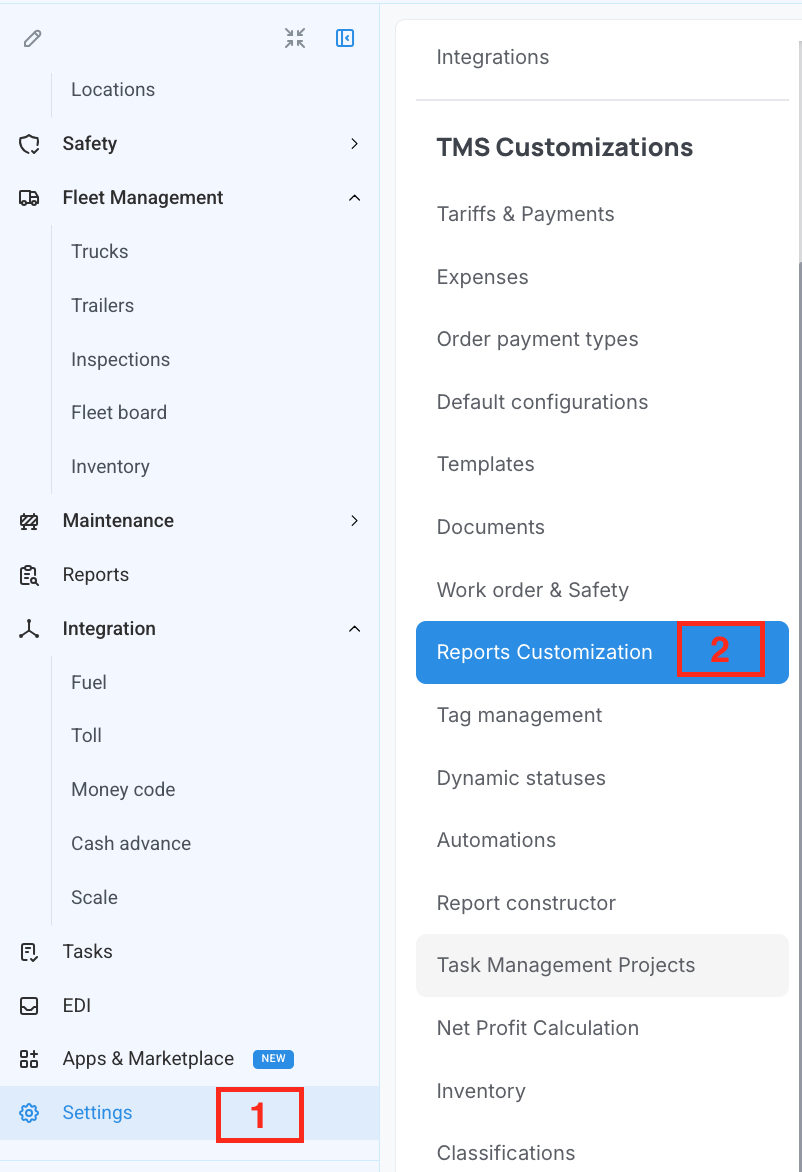
Where: Settings > TMS Customizations > Reports Customization
Available Report Types
Tabs across the top: Driver Statements, Dispatcher Statements, Invoices, Bills Statements, E-Rate Con, E-POD, E-BOL, and Rate Confirmation. The steps below use Driver Statements as the example, the same process applies to all types.
Step 1 — Select a Layout Type
Under Default Configurations, click the dropdown and select a layout type (Type 1, Type 11, etc.). Use the live preview on the right to compare layouts before deciding. (Type 11 is the most recommended one for driver statements)
Step 2 — Set Elements Options
Configure the general document behavior:
Toggle Show total miles and Show Datatruck logo on footer on or off
Set Earnings Table ID to Load Number or Trip ID
Set Earnings Table Date to DEL date, pickup date, or both
Set Sort Deductions and Other Pay to Sorted or Unsorted
Set Theme, File Naming, and Header Type from their dropdowns
Step 3 — Select Which Balances to Show
The Balances section lists all driver balance categories included on the statement. Click the X next to any category to remove it. Remove all to hide the balances section entirely.
Step 4 — Toggle Settlement Elements
The Settlement Elements checklist controls individual fields in the statement body. Check to show, uncheck to hide. Only enable what's relevant to your workflow.
Step 5 — Save
Click Save in the top right. Changes apply immediately to all future documents of that type.
We hope this article was helpful. However, if you have any further questions, please don't hesitate to reach out to our Live Support.
Comments
0 comments
Please sign in to leave a comment.