Go to Customer Management > Vendors > Click Create in the top right corner.
Step 2. Vendor Details Section
By simply choosing Create you'll open up the vendor details section. Fill out the following key fields:
Vendor Name (Required): Enter the name of the vendor.
Email Address (Optional): Add a valid contact email.
Notes (Optional): Use this for internal notes (e.g., payment terms, specialties).
Vendor ID (MC Number) (Optional): Helpful if the vendor is a carrier.
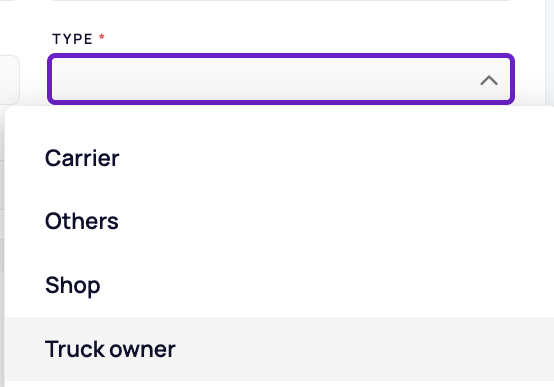
Step 3. Select Vendor Type
Click the Type dropdown to choose from:
Carrier – External freight carriers you contract with for hauling.
Truck Owner – Owner-operators or vendors providing trucks.
Shop – Maintenance and repair shops.
Others – Any vendor that doesn’t fall into the above categories (e.g., fuel providers, insurance agencies).
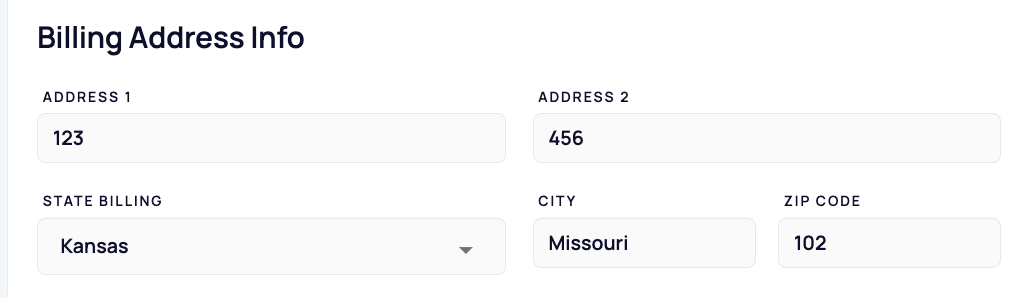
Step 4. Billing Address Info (Optional)
After selecting the vendor type you may also fill in the billing address.
Address Line 1 & 2
City
State
Zip Code
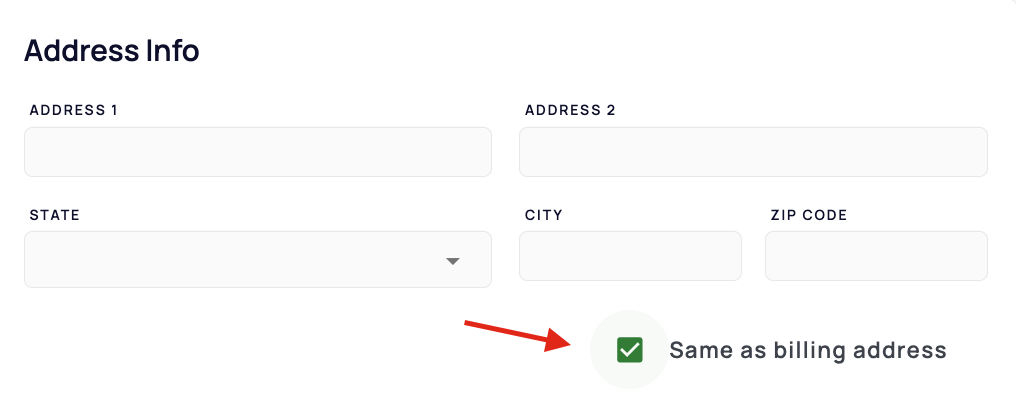
Step 5. Physical Address Info (Optional)
If the vendor’s mailing address is the same as the billing address, check the box that says “Same as billing address."
Otherwise, fill in the separate physical address fields.
Step 6. Save the Vendor
Once all required fields are completed:
Click the Save button in the top-right corner.
You’ve now successfully added a vendor to your system!
We hope this article was helpful. However, if you have any further questions, please don't hesitate to reach out to our Live Support.
Comments
0 comments
Please sign in to leave a comment.